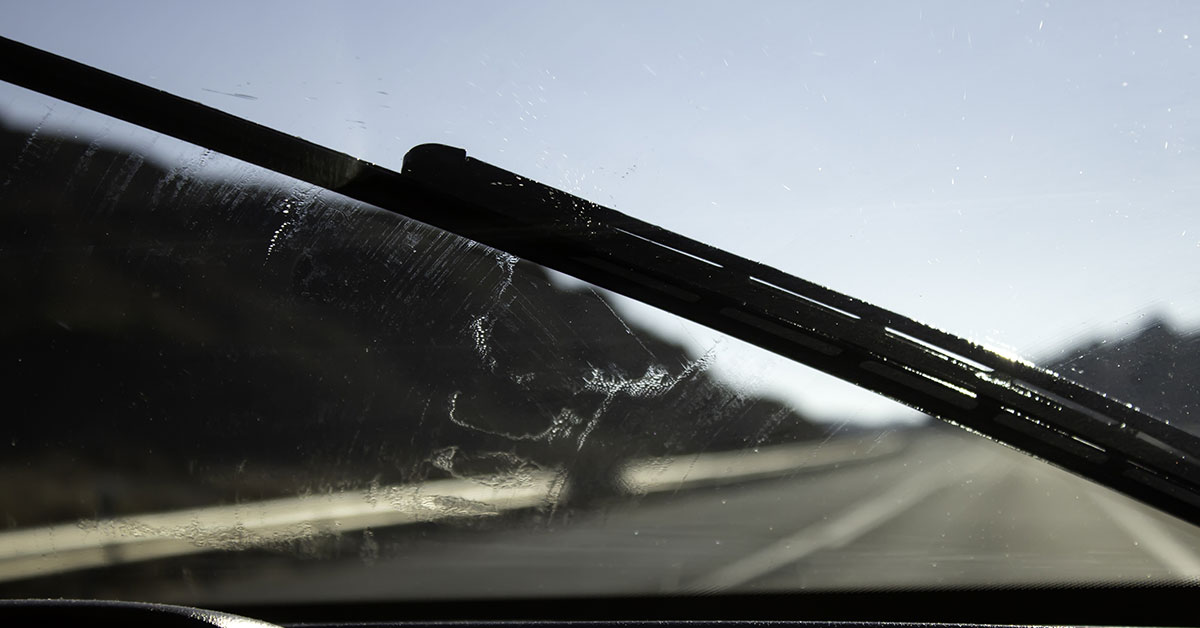
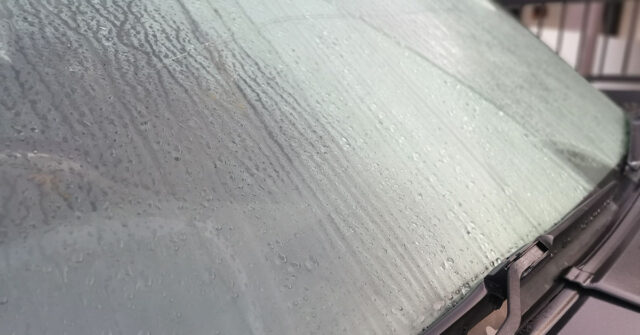
All cars accumulate scratches over time and in most parts of the vehicle. Usually, these scratches are so fine they are hardly noticeable and don’t require immediate action.
But when anything affects your line of sight while driving, such as bad scratches on the windscreen, that poses a safety risk and should be fixed as soon as possible.
So how do you remove scratches from a windscreen?
In this article, you will learn how to remove these scratches yourself with some readily available tools and a polishing compound. But first, let’s talk about what causes windscreen scratches.

What Causes Windscreen Scratches?
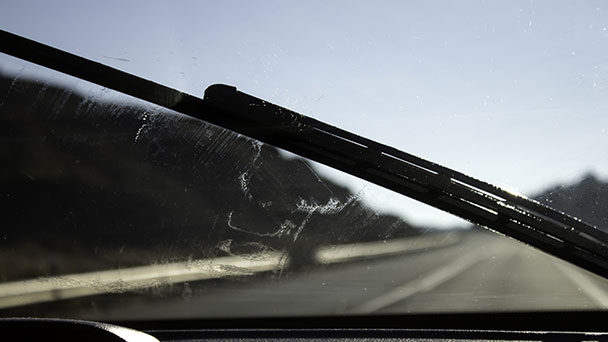
There are several causes for having scratches on your windscreen including leaves, flying debris, and poor cleaning habits.
But the most common and visible type of scratch usually comes from your wiper.
If you haven’t replaced your wipers in ages, the rubber in your wiper might’ve stiffened causing abrasion in your windscreen.
Small stones and other debris could also get caught between your wiper blades and the glass. This can cause scratches as your wipers go back and forth.
Whatever the reason is, it’s important to get the scratches removed as soon as possible to avoid accidents.
So how do you do it?

4 Steps to Removing Windscreen Scratches
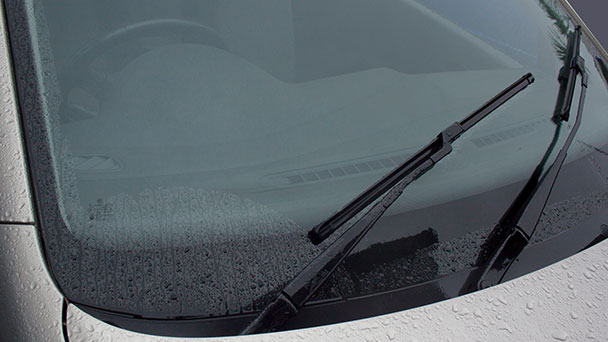
The below steps are intended for you to DIY. Of course, if you are not up for the challenge you should seek professional assistance.
Step 1: Check Scratch Depth With your Fingernails
The first step is to check the depth of the scratch.
Run your fingernails lightly through the visible scratch. If your fingernails catch on, then it’s probably too deep and you’ll need to replace your windscreen or take it to the experts for a second opinion.
But if the surface is still smooth despite the visible scratch, then you should be able to repair it yourself.
Step 2: Clean the Area
Start by cleaning your windscreen, including the area around the scratch with a car wash solution. Then dry with a clean microfibre cloth and use a glass cleaner to ensure the area is perfectly clean.
Be sure to only use a sponge with the car wash and a microfibre towel with a dedicated glass cleaner.
This cleaning preparation will help remove any dirt and debris that might be stuck in the scratch.


Step 3: Apply Polishing Compound
After you’ve cleaned your windscreen, apply a glass polishing product to the areas. Ideally, it should contain Cerium Oxide (CeO2) as this works the best.
Next, use an electric buffer or drill at low speed with a polishing pad to buff out the scratches.
When the surface starts to dry out, add small amounts of water to the area to create lubrication.
It might take a while to see the results so patience is a virtue.
Please note that the polishing compound used in glass is different from the polishing compound you’ll use for the paint of your vehicle. So don’t use the two interchangeably.
You should be able to purchase a windscreen scratch remover kit that comes with the cerium oxide compound, a polishing pad, and drill attachments in a local car care store.
Step 4: Wipe the Excess
Once you’re done polishing, wipe away any excess cerium oxide with a clean microfibre cloth.
And while you’re at it, you might as well wipe the whole windshield to ensure a consistent finish.


Tips to Prevent Windscreen Scratches
- Frequently change your wipers. Experts recommend changing them every 12 months.
- Avoid driving through low-hanging tree branches with leaves.
- Park in a garage or at least avoid parking underneath trees.
- Clean your windscreen (and whole car for that matter) regularly.
- When cleaning your windscreen, use only a microfibre cloth or a squeegee. Not paper towels, cotton cloth, or chamois as these may cause more scratches.
Final Thoughts
Windscreen scratches are inevitable but fine scratches can be fixed with the right tools and techniques.
It’s important to take care of your windscreen, especially your line of vision to avoid accidents.
If the scratches are too deep your only option is to replace the whole windscreen, but hopefully, you can repair it to avoid a full replacement.
